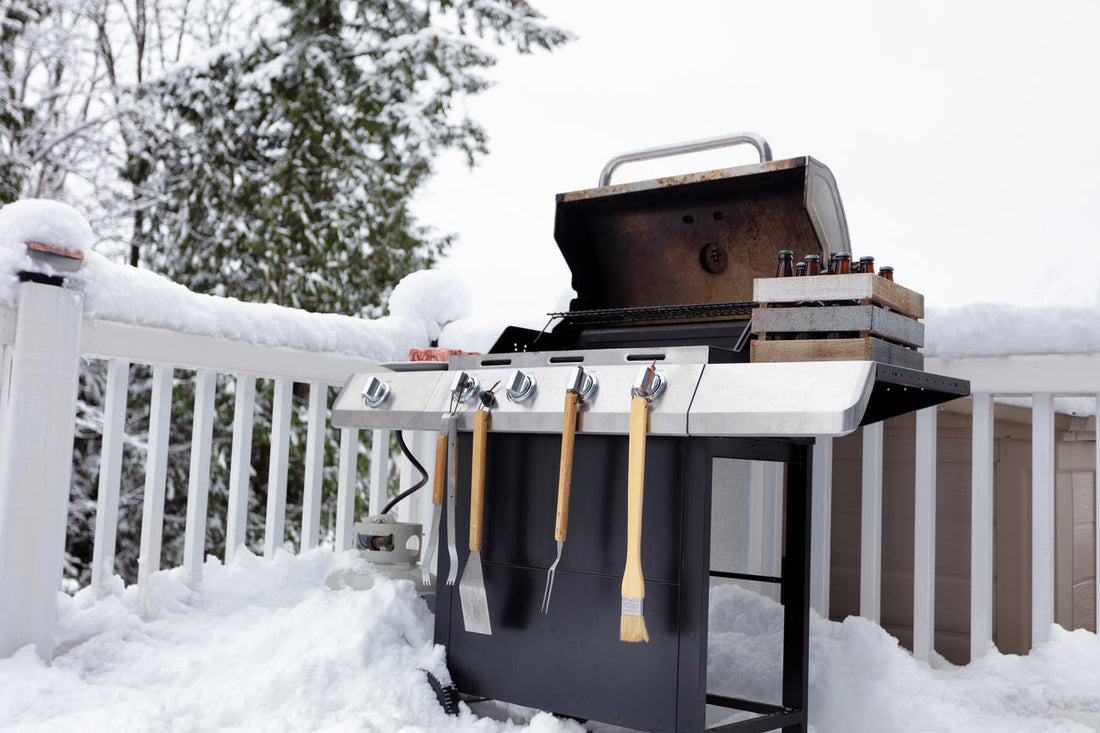
When the last cookout of the season wraps up, most folks think their grill or smoker can just sit tight until spring. But if you’ve ever opened your lid in March to find a rusty smoker grate or a stubborn lid frozen shut, you know that winter is not kind to your BBQ setup.
Learning how to winterize your grill (or smoker) is key to keeping it ready for action once warm weather hits again. Whether you store your gear outside or in a shed, a little prep now saves a whole lot of frustration and money later.
Why Winterizing Matters
It’s easy to assume your grill can tough it out through winter – after all, it’s made of metal, right? But constant exposure to moisture, snow, and freezing temps slowly takes its toll. If you pack it away without a little TLC first, you could be in for some nasty surprises come spring.
Here’s what can happen when you skip winter prep:
-
Rust and corrosion from trapped moisture and melting snow
-
Cracked or frozen components caused by leftover grease or condensation
-
Clogged vents and burners from debris and ice buildup
-
Unwelcome critters are setting up camp inside
Your smoker or grill is an investment, and taking care of it through the off-season is part of good BBQ grill maintenance.
The Right Way to Prep Your Grill for Winter
Winter’s tough, but your grill doesn’t have to suffer through it. Follow these steps to keep it clean, dry, and ready to fire up when the first warm weekend rolls around.
Step 1: Give It a Deep Clean
First things first, get that grill cleaned up. Grease and ash might seem harmless now, but once the cold hits, they’ll hold moisture and start eating away at your metal.
How to clean your grill or smoker before storage:
-
Fire it up for 15–20 minutes to loosen gunk and burn off residue.
-
Once cooled, remove grates and scrub with a grill brush or scraper.
-
Use warm, soapy water on the inside surfaces (no harsh chemicals).
-
Empty ash catchers and grease traps completely.
-
Rinse and dry everything thoroughly – don’t skip the drying step!
Pro tip: After cleaning, lightly coat the grates with cooking oil to prevent oxidation during storage.
Step 2: Inspect for Damage or Wear
Once your smoker or grill is clean, check for any cracks, worn gaskets, or rust spots. Cold weather can make these small problems worse.
Look out for:
-
Flaking or bubbling paint (a sign of trapped moisture underneath)
-
Loose bolts or hinges
-
Rust starting along seams or welds
-
Any chips in powder coating or protective finishes
Fixing these issues before winter ensures your grill is in good shape come spring. And if you spot rust, gently sand it down and apply a high-temp touch-up paint or protective coating.
Step 3: Protect the Interior
If your smoker has removable racks, ash pans, or drip trays, take them out and store them in a dry place. Moisture tends to collect in these spots first.
Then, make sure the vents and dampers are clean and open slightly to allow airflow – closing them completely can trap moisture inside.
If you’re storing outside, consider slipping a moisture-absorbing packet or charcoal briquette inside the main chamber to help prevent condensation.
Step 4: Cover It Right
A high-quality cover is your first line of defense against snow, rain, and freezing temps. But not all covers are created equal.
|
Good Cover |
Bad Cover |
|
Water-resistant but breathable material |
Plastic tarp that traps condensation |
|
Snug fit with secure straps |
Loose or short covers that blow off |
|
UV protection to reduce fading |
No UV protection leads to cracking |
|
Vented design to prevent mildew |
No vents, creating a damp environment |
A solid cover is your smoker’s best friend in the off-season. It should block rain and snow but still let air move through. And if your setup lives outdoors, don’t leave it sitting flat on the ground – raise it up a bit so water can’t pool underneath.
Step 5: Store It in the Right Spot
Ideally, you’ll move your grill or smoker into a garage, shed, or covered porch where it’s safe from the elements. But not everyone has that option, and that’s okay.
If you must store your grill outside, here’s how to make it work:
-
Position it away from overhanging roofs where snow or ice could fall.
-
Keep it covered, elevated, and facing away from the wind.
-
Avoid placing it directly on grass or dirt (which holds moisture).
Even if it’s built tough, grill protection is all about minimizing exposure to the harshest conditions.
Step 6: Protect the Fuel Source
Don’t forget about your propane tanks, charcoal, or pellets! Each needs a little TLC before winter hits.
If you use propane:
-
Disconnect the tank and close the valve tightly.
-
Store it upright in a dry, ventilated outdoor area (never indoors).
-
Check for leaks with a simple soap-and-water test before reconnecting next season.
If you use charcoal or wood:
-
Empty any leftover ash or coals.
-
Store fuel in sealed, moisture-resistant containers.
-
Keep it off the ground to avoid dampness and mold.
If you use pellets:
-
Transfer them to airtight bins or heavy-duty storage tubs.
-
Keep them inside or in a temperature-controlled area.
- Pellets tend to crumble if they absorb moisture.
Step 7: Routine Checks During Winter
Even when the grill’s taking a winter nap, it still needs a little attention. Every few weeks, head out and give it a look.
-
Tighten or adjust the cover if the wind had its way with it.
-
Clear off snow or ice before it piles up too heavily.
-
Check the ground for puddles or slush that may be gathering under the base.
On warmer days, crack that lid for a bit and let it air out – it keeps moisture from settling where it shouldn’t.
Step 8: Spring Prep Starts Now
When spring finally rolls around, it’s go-time. Before tossing on the first rack of ribs, make sure your rig’s ready to roll:
-
Uncover it and scan for any rust or loose parts.
-
Give the grates a quick oiling to wake them up.
-
Make sure vents, igniters, and burners are doing what they should.
That five-minute check is all it takes to go from “winter storage” to “weekend smoke show.”
Quick Grill Winterization Checklist
Even seasoned grillers can forget a step or two when shutting things down for winter. Here’s a quick checklist to make sure your smoker or grill is fully protected:
-
Deep clean every surface, grate, and tray before storage.
-
Empty ash catchers and grease trays so moisture doesn’t linger.
-
Inspect for rust spots, cracks, or loose hardware.
-
Oil the cooking grates lightly to guard against oxidation.
-
Remove and store smaller accessories somewhere dry.
-
Cover your grill with a snug, vented, waterproof cover.
-
Store fuel (propane, wood, or pellets) safely and away from moisture.
- Check every few weeks for snow, ice, or standing water.
Keep Your Smoker in Prime Condition Year-Round
Taking care of your grill or smoker doesn’t end when the snow starts to fall. In fact, winter is when your hardware needs you most.
By cleaning thoroughly, storing smart, and protecting against rust and moisture, you’ll extend the life of your investment and make sure it’s ready to roll when that first sunny day hits.
Want to keep the BBQ spirit alive all winter long?
Download our free cookbook and learn more about mastering the craft, from fire management to flavor layering, even in cold weather.
